If you're reading this, your Airstream skylight has probably already told you it's time. Maybe it's yellowed to the point where it blocks more light than it lets in. Maybe it's cracked along the fastener points — a classic failure mode on the OEM formed-plastic frames. Maybe a past owner patched it with Dicor and hope. Or maybe it simply blew off on the highway at 65 mph, which happens more often than Airstream owners like to admit.
Whatever got you here: replacing an Airstream skylight is one of the most straightforward upgrades you can make to your trailer, and most owners complete the job in a single afternoon. This guide walks you through everything — measuring, ordering, prepping the roof, and installing — so you know exactly what to expect before you climb up there.
What You're Working With: The OEM Airstream Skylight
The factory skylights on most 1990–2025 Airstream trailers are formed acrylic domes set in a plastic frame. They were designed to a price point. Over time — and often faster than owners expect — they:
- Yellow and haze, reducing light transmission significantly
- Crack at the fastener points, where screws penetrate the plastic frame directly
- Warp and bubble from UV exposure, especially in hot climates
- Fail the seal, allowing moisture intrusion around the base
When the OEM plastic fails, most owners face a choice: replace with another piece of OEM plastic (Airstream Supply Company sells them for $150–$180 each), or upgrade to something built to last.
Airstream Skylights are built using triple-layer polycarbonate and extruded aluminum frames — the same engineering standard as our Miami-Dade County hurricane-rated skylights. They're designed to handle 150 PSF of test pressure, which is the equivalent of 240+ mph winds. Highway speeds are, comparatively, a light breeze.
Step 1: Identify Your Skylight Size
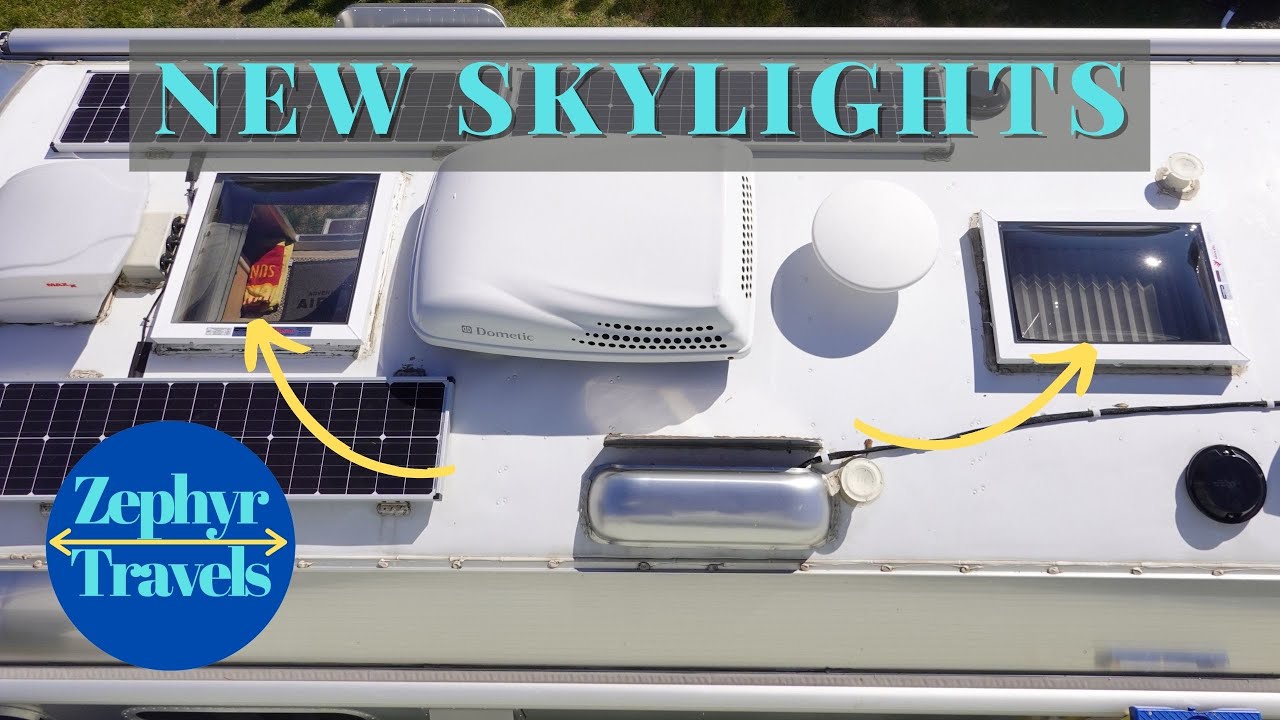
Most 1990–2025 Airstream travel trailers have one or two skylights:
- A square skylight (typically 19.5" × 19.5" opening) located toward the front of the trailer
- A rectangular skylight (typically 14.5" × 22.5" opening) located toward the rear
These are the interior ceiling opening dimensions — measure from the inside of the trim ring, not the exterior dome footprint.
How to measure correctly:
- Climb inside your trailer and look up at the skylight from below
- Measure the rectangular opening in the ceiling — the hole, not the trim or dome
- Write down width × length in inches
- If your measurements are close to the standard sizes above, you likely have a standard unit
- If you have an older or less common model, custom sizing is available — just email your dimensions
Not all Airstreams have two skylights. Shorter trailers (under 20 feet) often have just one. Basecamps and Bambi models have their own sizing. When in doubt, measure — don't assume.
Step 2: Choose Your Glazing
Each Airstream Skylights skylight has three layers of polycarbonate: two outer domes and one interior flat panel. Each layer can be ordered in different tints, which affects both light transmission and heat gain.
Glazing options:
- Clear (92% VLT): Maximum light, maximum view. Best for stargazing and full daylight. Higher heat gain in direct sun.
- Light Gray (50% VLT): Balanced light, reduced glare, meaningfully lower heat gain. The most popular choice for full-time travelers in warm climates.
- White Translucent High (74% VLT): Soft diffused light. You won't see through it, but it fills the interior with even, gentle brightness.
- White Translucent Low (23% VLT): Maximum heat and glare control. Good for desert climates or owners who run hot.
To calculate total light transmission, multiply the VLT percentages of all three layers together. A common configuration — Light Gray outer dome (50%) + Clear inner dome (92%) + Clear flat panel (92%) — produces approximately 42% total VLT: plenty of light, significantly reduced heat.
We measured our Light Gray skylight at 103°F surface temperature under direct summer sun. The OEM factory skylight measured 150.9°F under the same conditions. That 47-degree difference is real and meaningful — especially if you're full-timing in Texas or Arizona.
Step 3: Order
- Download the order form at airstreamskylites.com
- Fill in your skylight dimensions and glazing selections
- Email the completed form to info@maximskylights.com
- Receive an invoice via payment link
- Pay to enter production — lead times confirmed with each order
- Ships FedEx Ground to all 48 lower states, shipping included in price
Pricing:
- Square skylight (standard): $382 delivered
- Rectangle skylight (standard): $314 delivered
- Custom sizing available — email for quote
Step 4: Gather Your Materials
Before you get on the roof, have everything ready.
Tools:
- Cordless drill or screwdriver
- Utility knife or putty knife
- Wire brush or plastic scraper
- Measuring tape
- Rags or paper towels
Materials:
- Neutral-cure sealant — we recommend Sika 221, 3M Marine Adhesive Sealant 5200, or OSI QuadMax. Do not use standard silicone or acetate-cure sealants on an Airstream roof.
- #12 × 3/4" stainless steel self-drilling screws (typically 8–10 per skylight)
- Mineral spirits or Goo Gone for removing old caulk residue
- Non-slip shoes; a spotter on the ground if possible
Important: Always use neutral-cure or low-VOC sealant. Acetate-cure silicone (the kind that smells strongly of vinegar) can react with Airstream's aluminum skin and cause corrosion over time.
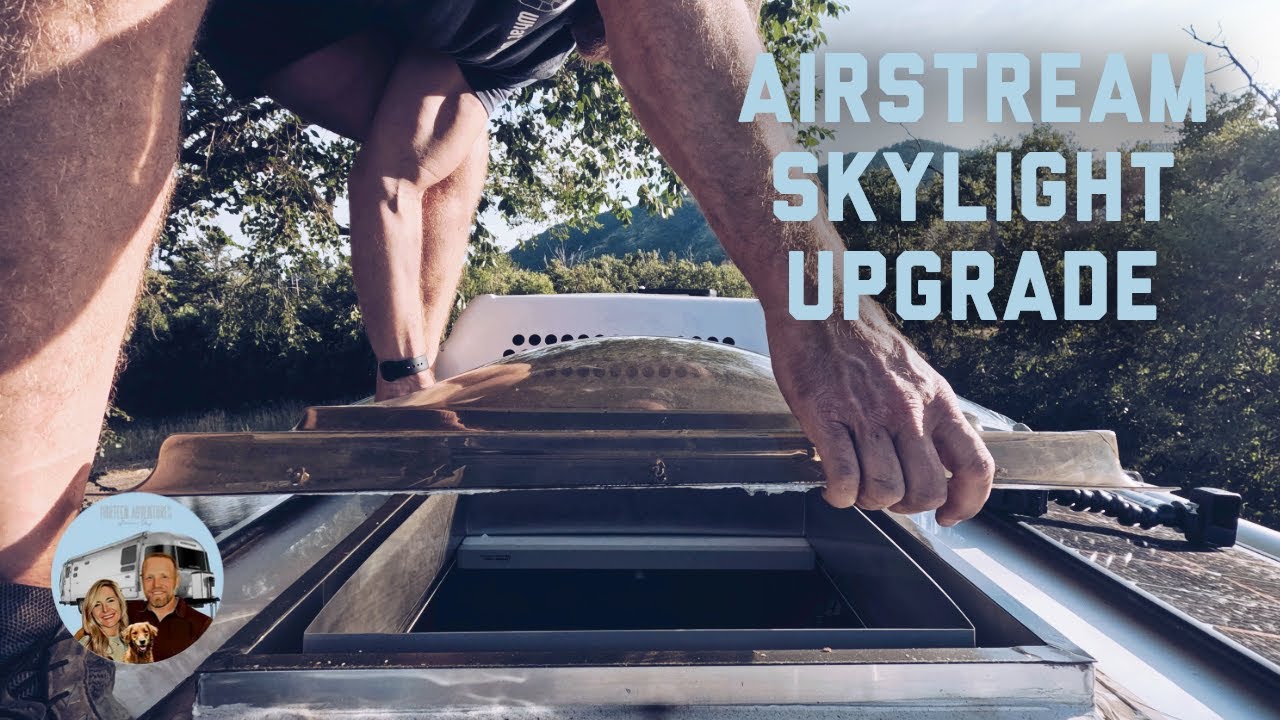
Step 5: Remove the Old Skylight
- Work from the roof. Have your spotter hold the ladder steady.
- Remove the screws first — they're typically around the perimeter of the frame, going through the plastic and into the roof curb.
- Cut the sealant. Run a utility knife around the perimeter of the skylight base to break the caulk seal. Don't force it — old sealant can be tenacious. Take your time.
- Lift the skylight straight up. It should release cleanly once the sealant is cut. If it's fighting you, there may be more caulk underneath — work around the perimeter again.
- Clean the curb surface. Use a plastic scraper to remove the old caulk from the top of the roof curb. Remove everything accessible above the curb — leave the caulk that's beneath the riveted curb itself undisturbed.
- Clean and dry the surface thoroughly. Mineral spirits help remove stubborn adhesive residue. The mating surface needs to be clean for the new sealant to bond properly.
Step 6: Dry-Fit the New Skylight
Before applying any sealant:
- Set the new skylight in place over the existing roof curb. The skylight is designed to drop over the curb like a shoebox lid — the vertical wall of the curb should sit inside the perimeter channel of the new skylight base.
- Check the fit on all four sides. There should be consistent contact all the way around. If one side sits proud, confirm the curb is clean and level.
- Check fastener hole alignment. The pre-drilled holes in the skylight base should line up with the curb. If adjustment is needed, confirm the curb dimensions match what you ordered.
- Remove and proceed to sealant. This dry-fit step is worth the extra two minutes — it confirms everything is right before you commit.
Step 7: Apply Sealant and Install
- Run a continuous bead of sealant along the top edge of the roof curb — the full perimeter, no gaps.
- Set the skylight over the curb. Press down firmly and evenly, working around the perimeter to ensure full contact with the sealant bead.
- Drive the stainless screws through the pre-drilled holes in the skylight base and into the curb below. Don't overtighten — snug is correct. These are going into aluminum, not wood.
- Apply a finish bead of sealant around the exterior perimeter where the skylight base meets the roof surface. Tool it smooth with a gloved finger or plastic tool. This is your final weatherseal.
- Clean up excess sealant while it's still wet. Much harder once cured.
- Allow to cure before driving — most neutral-cure sealants are tack-free within a few hours and fully cured in 24–48 hours.
Step 8: Inspect from Inside
Once installed, go inside and look up. You're checking for:
- Even light transmission around the entire perimeter — no shadowing from gaps
- Clean seal line — no daylight visible around the base from inside
- Trim ring fit — if your trailer has an interior trim ring, reinstall it now
If you see any daylight gaps, apply additional sealant from the outside before driving.
Common Questions
Do I need to remove the interior trim ring first?
In most cases, no — the interior trim ring is cosmetic and doesn't affect the exterior installation. Remove it only if it obstructs your ability to see the ceiling opening dimensions when measuring.
My old skylight was glued down really well. Is that normal?
Yes. The factory applied a lot of sealant in some production years. Patience and a sharp utility knife are the answer. Don't pry aggressively — you could damage the roof curb.
The flanges seem slightly long. What should I do?
On some curb profiles, especially older models, the skylight may need minor trimming of the flange for a perfect fit. A metal cut-off wheel or aviation snips works well. Email us before you cut if you're unsure.
Can I use regular silicone from the hardware store?
We strongly recommend against it. Standard acetate-cure silicone is not recommended for Airstream aluminum roofs. Stick with the products listed above.
What if I have a rounded-corner curb (pre-1990 or vintage)?
We have experience with custom frames for vintage Airstreams, including rounded-corner applications. Email us with your dimensions and photos of the curb and we'll advise.
When You're Done
Take a photo from up top. Then take one from inside looking up. Send them to us — we love seeing every install, and with your permission, we'll feature your rig.
If you have any questions before, during, or after your install, email info@maximskylights.com or use the contact form at airstreamskylites.com. We answer questions from real Airstream owners all day, every day. We've seen almost every scenario — we're happy to help.